Setup, Placement & Troubleshooting
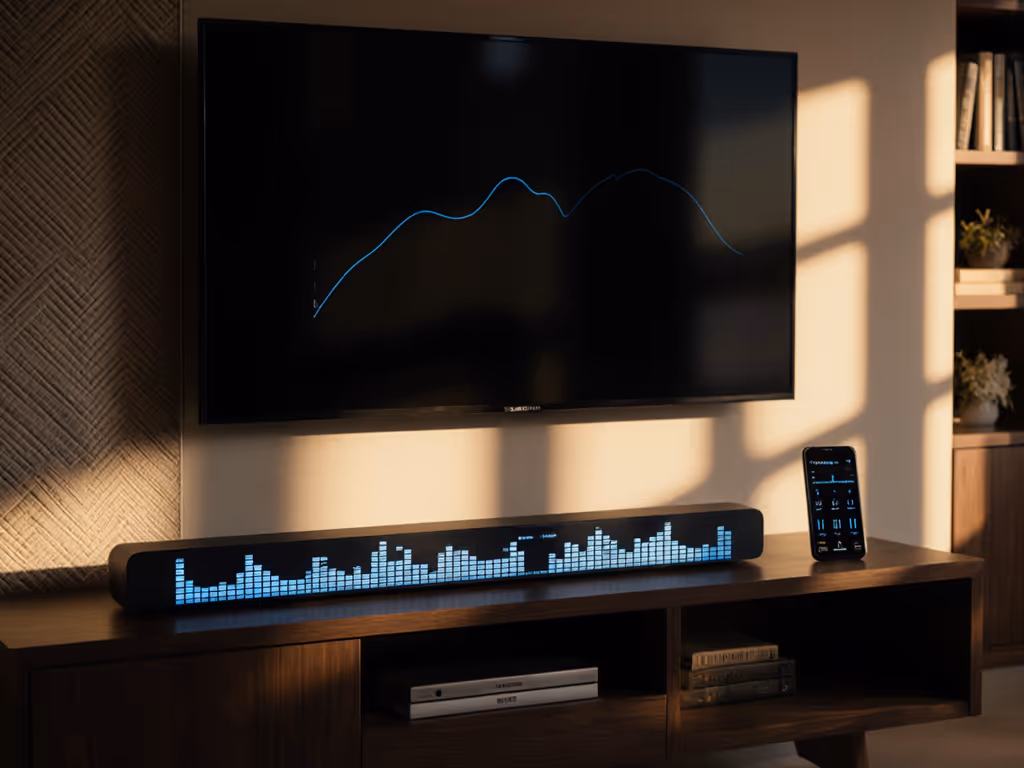
Soundbar Graphic EQ: Room-Specific Clarity Guide
22nd Jan•5 min read
You've finally invested in a decent TV. But the moment you step outside with your soundbar, reality hits: outdoor soundbar solutions are either forgotten afterthoughts or so complicated they feel like a second hobby. Weather-resistant soundbars sit exposed to sun and rain. Wiring rules are mysterious. Placement feels like guesswork. Worst of all, you're torn between clearing the space and keeping neighbors at peace.
If you've ever watched a movie on your patio only to crank the volume so high that you're nervous someone might complain, or sat in frustrated silence because dialogue disappears into the yard, you're not alone. Most people assume outdoor audio means sacrificing either sound quality or sanity. It doesn't have to.
Traditional setups fail outdoors for three reasons. First, weather exposure demands equipment built for temperature swings, humidity, and UV damage (not every soundbar qualifies). Second, the physics are unforgiving: sound dissipates faster outside, and reflective surfaces vanish, so achieving crisp dialogue at neighbor-friendly volumes requires intentional placement, not just pointing and hoping. Third, most people rush placement decisions without mapping their actual listening zone, leading to dead spots, boomy corners, or wasted power.
Add in the cable-management anxiety (visible wires feel like clutter), the one-remote sanity question (will your TV remote actually control this?), and neighbor peace concerns, and many give up before they start.
Let's run the real-room fit check before chasing bigger specs. A methodical approach beats expensive mistakes.
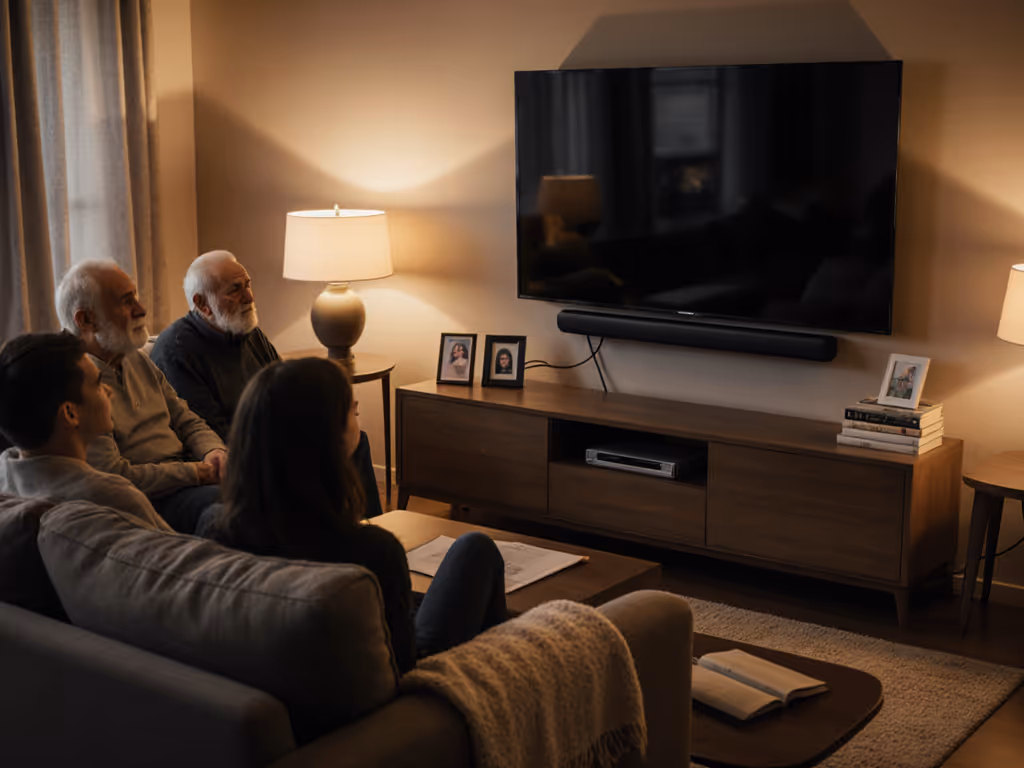
Define where you'll actually sit. A patio dining table? Lounge seating 12 to 15 feet from the house? Pool deck? The listening zone dictates everything: placement, wattage, even whether you need a subwoofer later.
Quick check:
Hard surfaces bounce sound and can create uneven coverage; soft surfaces absorb it and may need a slightly more powerful unit. Know which you have.
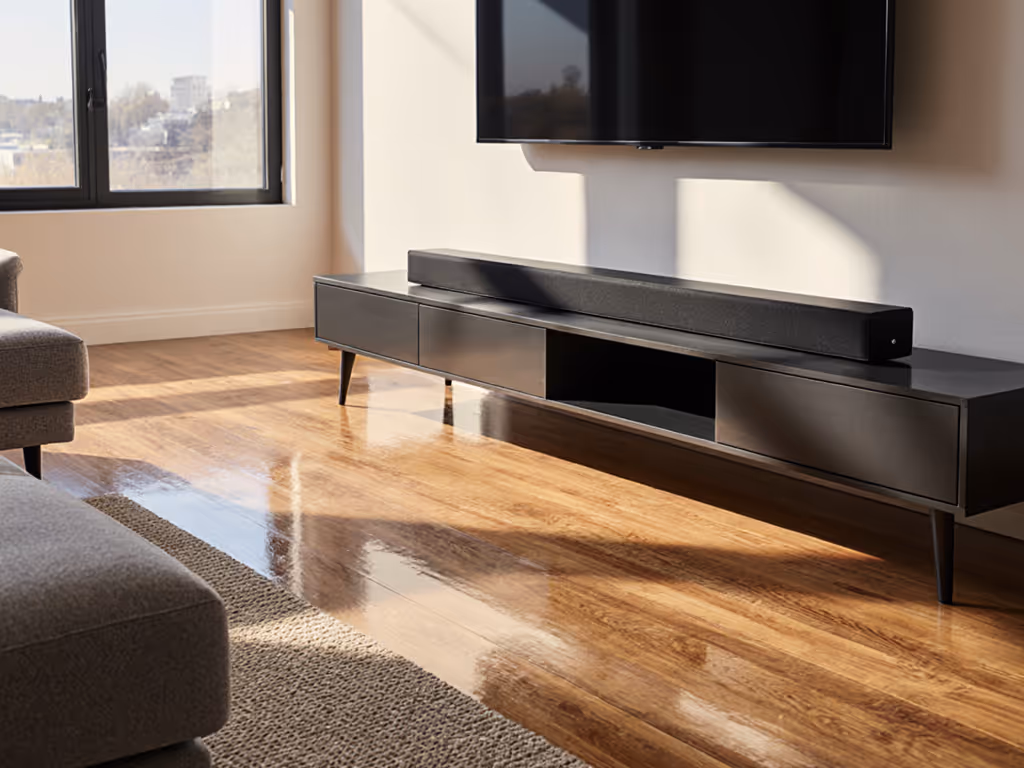
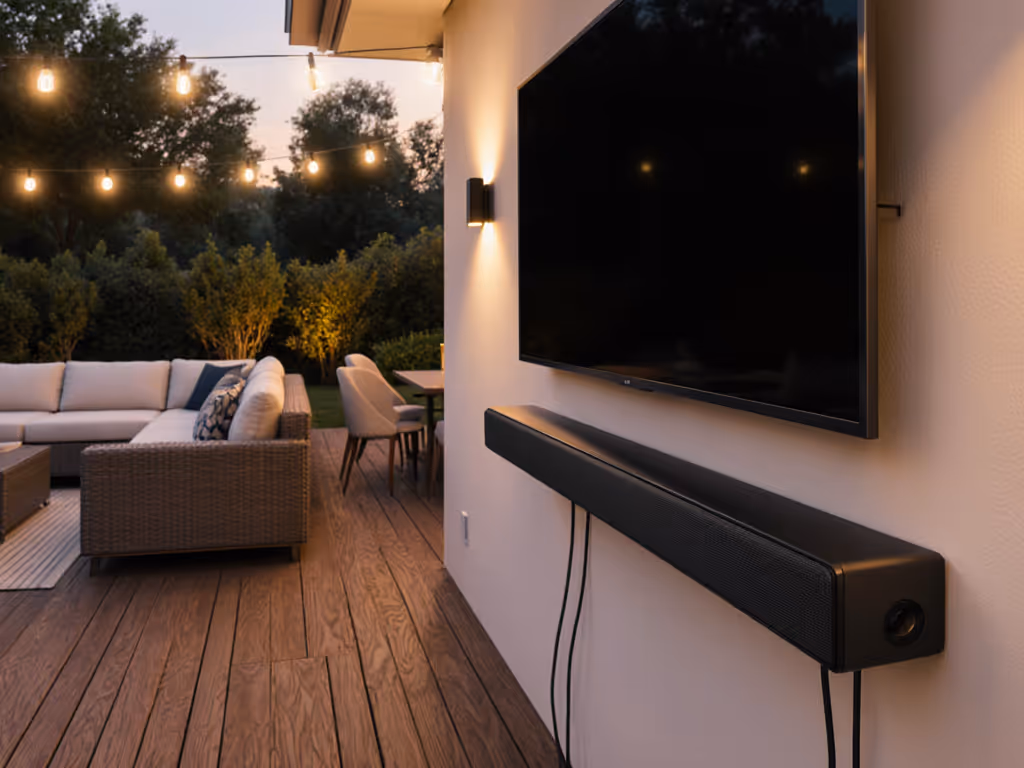
Mount height and angle matter more than most people realize. A weather-resistant soundbar should sit at ear level for seated listening, typically 36 to 48 inches high. Wall mounting is ideal; it frees up floor space and keeps wires off the ground. For detailed mounting angles and spacing tips, see our soundbar placement guide.
Placement principles:
If wall mounting isn't an option (rental anxiety is real), a sturdy outdoor stand works (just ensure it's stable enough that wind or vibration won't tip it). Secure cables along the mounting surface with clips rated for outdoor use. No dangling wires means no tripping hazard and better aesthetics.
Visible wires kill the vibe. Here's how to hide them cleanly:
For wall-mounted bars:
For free-standing bars:
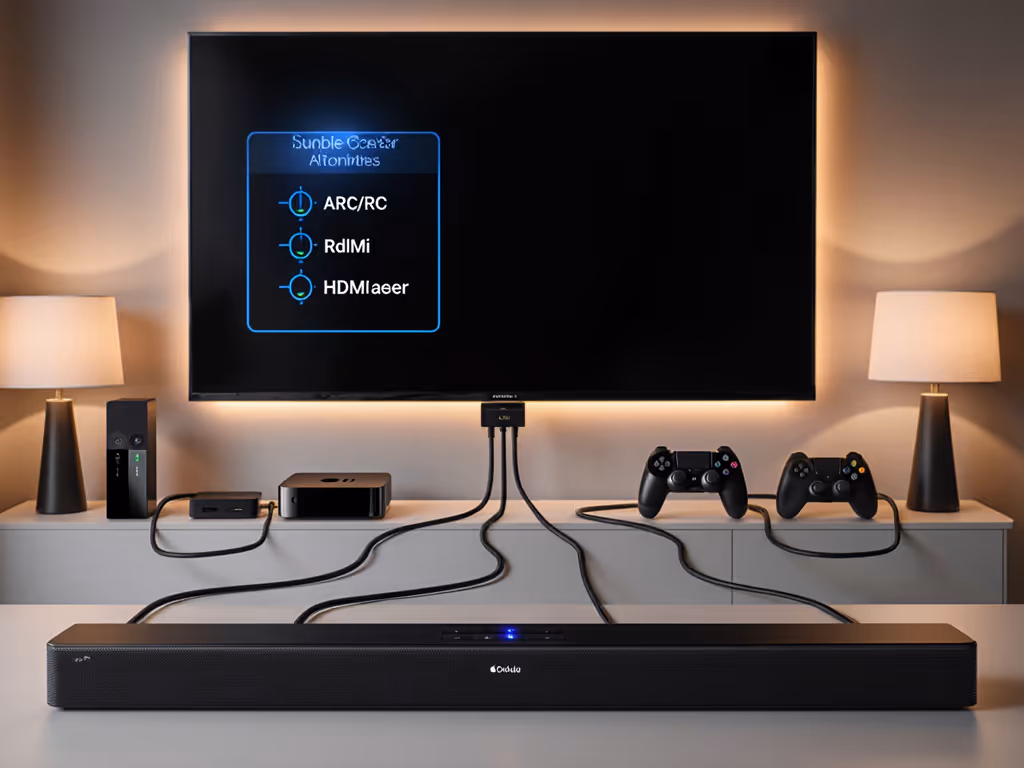
One cable (optical or HDMI ARC) is all you need from the soundbar to your receiver or TV. That's one-remote sanity: connect once, control from your couch. Not sure whether ARC or optical is best? Read our HDMI ARC vs optical comparison for latency and reliability tips.
Most outdoor soundbars work via:
Connect your TV's audio output to the soundbar. If your TV doesn't have ARC, use optical. If it does, eARC is worth trying (and usually works reliably once paired). Then connect your soundbar's input back to a home theater receiver (Zone 2 output, if you have one) or a dedicated streaming device like a Sonos Amp, which sits indoors and powers your outdoor bar cleanly.
Before settling on final placement, do a walkthrough test:
Neighbor peace check: There's a sweet spot (usually around 35 to 40% volume) where dialogue is crisp and action clear, but it doesn't carry next door. Mark that setting and stick to it for evening use. Most modern soundbars support night mode or dynamic compression; enable these during quiet hours. See our soundbar presets guide for how night mode, dialogue boost, and compression work across brands. They squash loud peaks without muting whispers.
A good home theater for outdoor spaces doesn't require separates, subwoofers, or wireless rears. Stick to:
Deck sound systems thrive on simplicity. One device, one cable, one control. Subwoofers are tempting but add complexity: they need separate placement tuning, their own power, and bass travels through walls. If you're deciding between built-in and separate subs, our integrated vs separate subs breaks down space, performance, and value. In apartments or close quarters, skip it. In a spacious backyard, consider one only if you're 30+ feet from the nearest neighbor and can angle it away from their home.
If your outdoor entertainment audio needs exceed a single bar, say you're covering a large pool deck or separate lounge area, don't panic. Plan for multi-zone audio by:
This scales cleanly without chasing expensive separates or getting lost in installer-land. For ecosystem-friendly control across patios, pools, and indoors, check our multi-room audio guide.
Outdoor soundbar setups don't require reinvention or complexity. Start with an honest real-room fit check: know your listening zone, pick a mounting height that matches your seating, and run a single cable cleanly into the house. Place the soundbar where sound reaches your primary seating without bouncing uselessly into the yard. Dial in your safe, neighbor-friendly volume once, then enjoy it every night.
The reward isn't just clear dialogue and satisfying action; it's peace of mind. No second-guessing your choice. No angry neighbors. No cable chaos. Just outdoor entertainment audio that fits your space, your routine, and your relationship with the people around you. That is the real victory, and it starts with one straightforward plan, applied room first.